To complete the one-off Billforward Account set up, please follow the following steps below, or check out our Quick Start Video- Getting Started section here.
Payment gateway configuration
Upon creation of your account, you will have to complete a one-off set-up process before getting started.
Pre-requisite: you will need to have already set up an account with one of the following payment gateways:
- Stripe
- Authorize.net
- Sage Pay
- PayPal
- PayVision
- Go Cardless
- CyberSource
- Braintree
- Zooz
Once you have logged into your Billforward account for the first time, you will see this window in your dashboard:
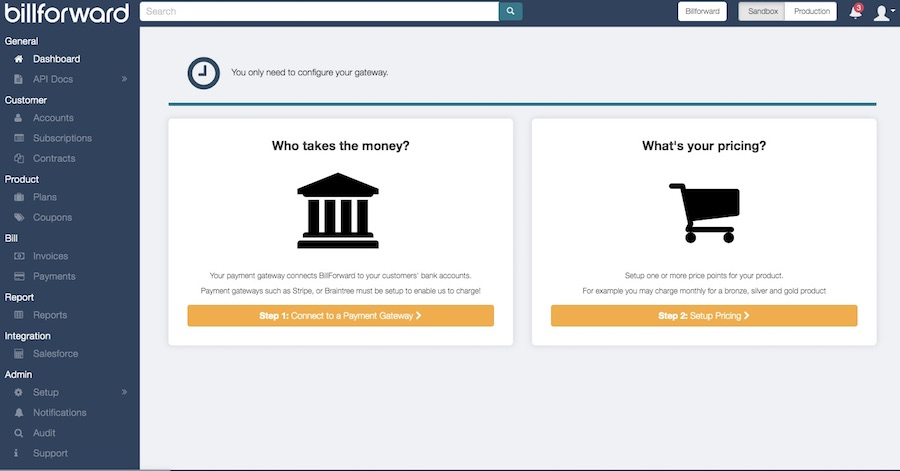
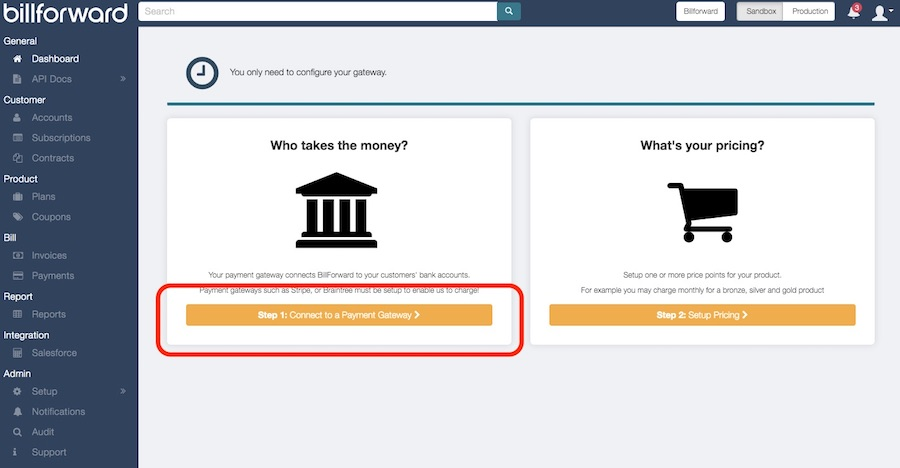
First things first, as a part of the one-off initial set up process, we need to set up at least one payment gateway so you can collect payments from your customers. To do so, click on the yellow “Connect to Payment Gateway” button. This will take you to the gateway configuration screen.
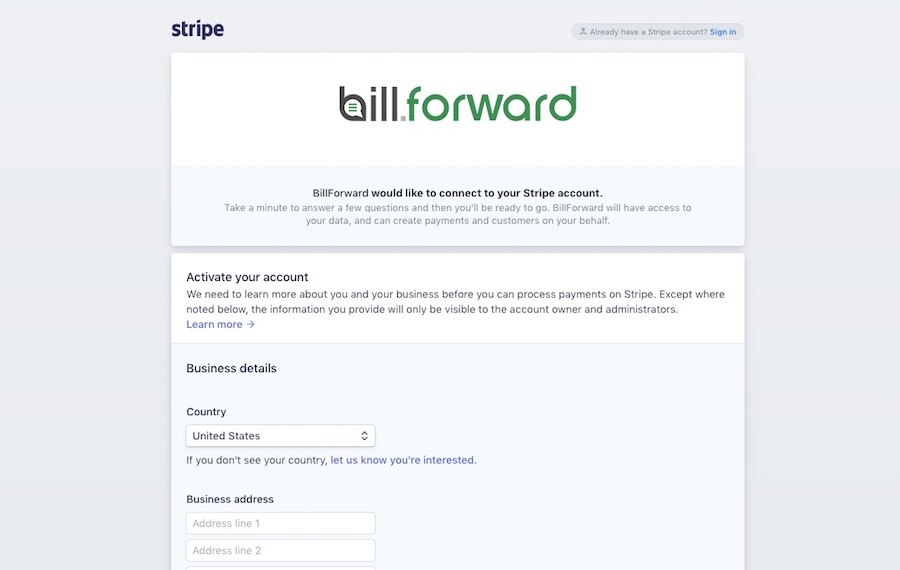
Let’s assume that for the sake of this tutorial, we want to use Stripe as our payment gateway, so let’s click on the “Stripe” from inside the payment gateway menu. A stripe configuration pop up window will appear:
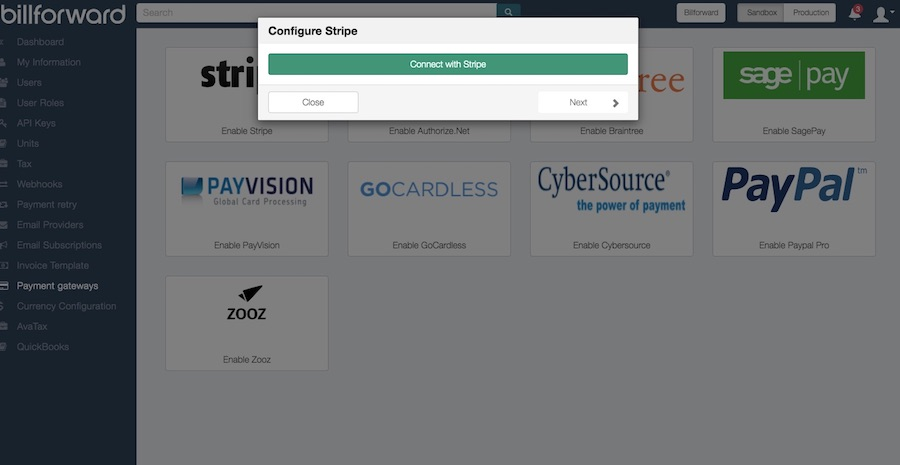
Go ahead and link your Billforward account with your Stripe account:
Pro tip: You can have more than one gateway set up.
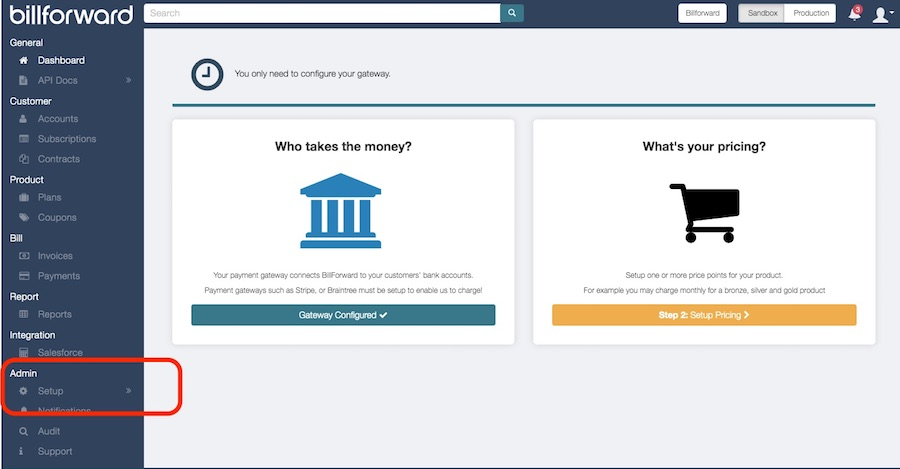
Once you have gone through the Stripe configuration process, the system will take you back to Billforward. Click on the “Dashboard” in the top left corner to get back into the dashboard. The previously yellow “Connect to Payment Gateway” button will now turn blue, and display “Gateway Configured” with a checkmark.

Pro tip: You can also access the payment gateway configuration dashboard via the left menu bar at any time under the “Admin” > “Set up” set of tools:
